How to get a custom fit liner out of a helmet
A poured styrene custom fit liner is easily removed from
a helmet if you just use the right technique. A special extractor tool is helpful but not
indispensable, a flexible metal ruler or another thin piece of metal may be used.
First you remove the earphones or just loosen them so that they hang freely in the helmet.
If they are left in place they may obstruct the liner's movement.
Secondly you insert the extractor tool under the right hand or left hand corner of the
rear half of the liner and slide it carefully forward a bit.
Thirdly you gently lift the tool and slide a finger or two under the rear edge of the
liner. Pull the liner gently forward and remove the liner. You may have to slide it
sideways too, depending on how tight fitting it is.
The front half of the liner can then be slid backwards and removed. You may have to wiggle
it a bit to get it loose from any visor attachment screws under the liner.
The liner is installed in reverse order. First insert the front half of the liner and make
sure that the rear edge is at right angles to the helmet centreline. Afterwards you have
to wiggle the rear part back in.
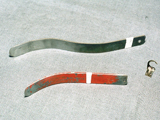
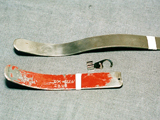
Two types of homemade liner extractor tools. These were made
and used by RDAF ALSE technicians. The S-hook is only
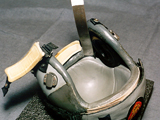
for size comparison. Third picture shows how the extractor tool is inserted under one of
the corners of the rear half of the
liner. Remember to remove the earcups before you remove the liner. In the fourth picture
the rear liner is loose.

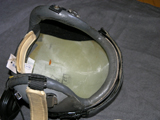
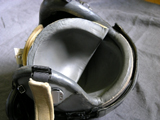
In the first picture only the front half of the liner is left. The second picture shows
that there are no signs of glue or velcro
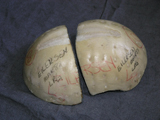
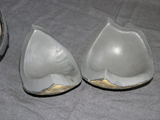
inside the helmet shell. The two last pictures show the liner from both sides.
Click on thumbnails to see larger pictures. Pictures © Bluelight